

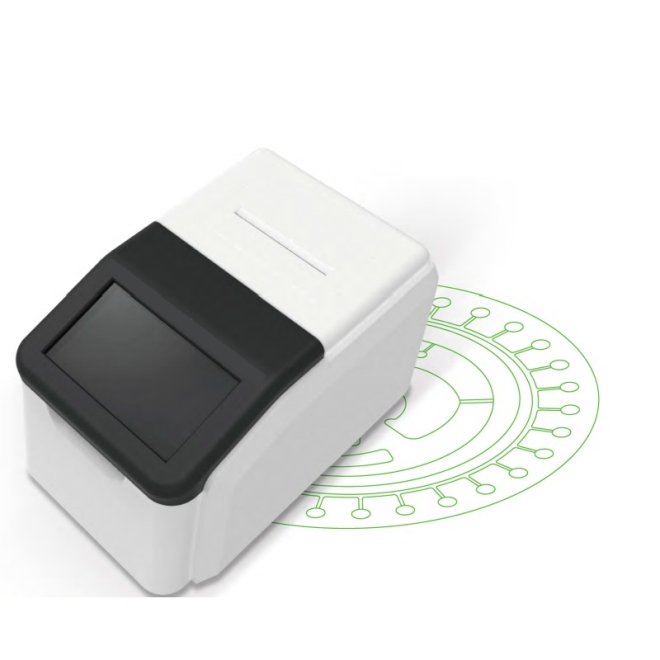
You stare at your blinking immunoassay analyzer, wondering if it runs on science or tiny wizard hamsters. The vet techs shrug, the patients wait, and the error codes look more like ancient runes than helpful messages.
Relax—understanding the basics of how veterinary immunoassay analyzers detect antibodies and hormones makes troubleshooting easier and results more trustworthy. You can follow clear guidelines on immunoassay principles in this peer‑reviewed report to turn that “mystery box” into a reliable diagnostic partner.
🔬 Basic Principles Behind Veterinary Immunoassay Analyzer Operation
Veterinary immunoassay analyzers measure antigen or antibody levels in animal samples using highly specific immune reactions and sensitive optical or electrical signal detection methods.
These systems automate mixing, incubation, washing, and reading steps to give fast, repeatable results that help diagnose infections, hormone changes, and organ damage in pets and livestock.
1. Antigen–Antibody Binding Basics
The core of every veterinary immunoassay is the lock‑and‑key reaction between antibodies and target molecules such as hormones, pathogens, or inflammatory markers.
- Antibodies bind only certain targets.
- This binding forms stable immune complexes.
- The analyzer then detects these complexes as a measurable signal.
2. Solid Phase and Capture Zones
Many analyzers use coated wells, beads, or strips as a solid phase to “capture” target molecules from the patient sample.
- Capture antibodies are fixed on plastic or membrane.
- Sample flows over and binds if the target is present.
- Unbound material is removed by wash steps.
3. Signal Labels and Detection Systems
Labels such as enzymes, fluorescent dyes, or nanoparticles attach to antibodies and create measurable light, color, or electrical changes.
| Label Type | Common Readout |
|---|---|
| Enzyme | Color change (photometry) |
| Fluorescent dye | Light emission (fluorescence) |
| Nanoparticle | Visual line or enhanced signal |
4. Automation Workflow Inside the Analyzer
The analyzer controls timing, volume, and temperature to improve accuracy, while software guides the user with clear prompts and checks for errors.
- Automated pipetting reduces manual steps.
- Incubation and mixing optimize binding.
- Built‑in readers convert signal into numeric values.
🧪 Sample Preparation, Reagents, and Key Reaction Steps Explained
Good veterinary immunoassay results start with correct sampling, careful handling of reagents, and a clear chain of automated reaction steps.
By standardizing these parts, clinics gain reliable data from systems like the AccordEdge System-Single Run even during busy hours.
1. Collecting and Preparing Animal Samples
Most analyzers use serum, plasma, or whole blood from dogs, cats, and farm animals, with simple preparation steps to reduce clotting or interference.
- Use correct tubes and anticoagulants.
- Follow storage time and temperature rules.
- Mix gently to avoid hemolysis.
2. Role of Ready-to-Use Reagents and Cartridges
Preloaded cartridges and pouches keep antibodies and buffers stable, reduce handling errors, and simplify staff training for new users.
- Lot information is read by barcode or chip.
- Onboard checks verify expiry dates.
- Sealed design improves biosafety.
3. Key Reaction Phases: Binding, Washing, and Signal Generation
Inside the analyzer, the sample first binds to capture antibodies, then wash steps remove noise, and final reagents create the measurable signal.
| Phase | Main Purpose |
|---|---|
| Binding | Form immune complexes |
| Washing | Remove excess, improve clarity |
| Signal | Generate light or color to read |
4. Example Data Trends from Routine Panels
Below is a sample bar chart script that shows how analyzers can display average marker levels for groups of animal patients.
📊 From Signal Detection to Quantitative Results in Animal Diagnostics
Once the signal is generated, the analyzer’s optics and software convert raw readings into accurate, traceable numbers for each veterinary biomarker.
This process links physical light or color intensity to clinically meaningful concentrations.
1. Optical Reading and Signal Capture
Light sources and sensors measure color or fluorescence from each test position, while shielding reduces stray light and improves repeatability.
- LED or laser light excites the label.
- Detectors measure intensity at fixed wavelengths.
- Electronics digitize the signal for software use.
2. Using Calibration Curves for Accurate Values
The analyzer compares sample signals to a stored calibration curve built from known standards to determine final concentrations.
| Signal Level | Example Result |
|---|---|
| Low | Below reference range |
| Medium | Within reference range |
| High | Potential disease flag |
3. Reporting and Interpreting Animal Health Data
After calculation, the analyzer prints or exports reports, highlights abnormal values, and supports clinical decisions such as treatment changes or follow‑up testing.
- Results show units and reference ranges.
- Flags alert to critical values.
- Trends across visits help monitor therapy.
⚙️ Calibration, Quality Control, and Routine Maintenance Procedures
Strong veterinary immunoassay performance depends on regular calibration, daily quality control checks, and light maintenance tasks done by clinic staff.
These steps keep results stable over time and reduce costly repeat testing.
1. Calibration Schedules and Reference Standards
Manufacturers define how often analyzers must run multi‑level standards to refresh calibration curves and confirm linearity.
- Use only approved calibrators.
- Follow reagent lot‑change rules.
- Document all calibration events.
2. Internal and External Quality Control
Control materials with known values verify that the system stays within acceptable limits for each analyte across shifts and operators.
| QC Type | Main Purpose |
|---|---|
| Internal | Daily run checks |
| External | Independent performance review |
3. Simple Maintenance to Extend Analyzer Life
Basic tasks like surface cleaning, replacing consumable parts, and updating software keep veterinary immunoassay analyzers dependable and reduce downtime.
- Wipe spills and dust from optics covers.
- Change filters and waste containers as scheduled.
- Run manufacturer cleaning cycles.
🏥 Why Clinics Choose LumosTail Analyzers for Reliable Immune Testing
Clinics look for analyzers that are fast, easy to use, and flexible, while still delivering laboratory‑grade accuracy for everyday animal care.
LumosTail systems address these needs with tailored formats and smart software support.
1. Workflow Options for Different Clinic Sizes
Single‑run, duplex, and pouch‑based platforms let practices pick the right throughput, from small exam rooms to high‑volume referral centers.
- Single tests for urgent patients.
- Batch runs for planned panels.
- Compact designs save counter space.
2. Integrated Test Menus and Rapid Turnaround
Systems such as the Rapid Pouch System and AccordEdge System-Duplex Run support multi‑marker panels for infection, cardiac, and endocrine screening with quick turnaround.
| Panel Type | Typical Clinical Use |
|---|---|
| Inflammation | Fever and sepsis workup |
| Cardiac | Dyspnea and chest pain cases |
| Endocrine | Thyroid and adrenal screening |
3. Easy Training, Connectivity, and Data Management
User‑friendly screens, clear prompts, and LIS connectivity reduce training time and allow clinics to store, review, and share results more efficiently.
- Step‑by‑step guided testing.
- Automatic result export to records.
- Backup and audit trails for compliance.
Conclusion
Veterinary immunoassay analyzers use precise immune reactions and automated detection to deliver fast, trustworthy results. They support early diagnosis, treatment monitoring, and preventive care for many animal species.
With proper sampling, calibration, and maintenance, clinics can rely on these systems for consistent data that fits smoothly into everyday workflows.
Frequently Asked Questions about veterinary immunoassay analyzer
1. What is a veterinary immunoassay analyzer?
A veterinary immunoassay analyzer is an automated device that measures hormones, antibodies, and other markers in animal samples using antigen–antibody reactions.
2. Which samples can these analyzers test?
Most systems work with serum, plasma, or whole blood from dogs, cats, horses, and farm animals. Some platforms also accept urine or other special fluids.
3. How long do test results usually take?
Turnaround time depends on the model, but many in‑clinic immunoassay analyzers provide results within 10–20 minutes from sample loading.
4. How often is calibration needed?
Calibration frequency is set by the manufacturer and can depend on test type, reagent lot change, and daily usage. Always follow the device’s instructions.
5. Are veterinary immunoassay results as accurate as reference labs?
Modern analyzers can reach near‑lab accuracy when you use approved reagents, perform regular quality control, and follow recommended maintenance procedures.