

Choosing a digital pet X-ray machine can feel like reading ancient hieroglyphs—specs, sensors, pixels, plates—while your budget whimpers quietly in the corner.
You can calm the chaos by comparing image quality, workflow, and safety standards, guided by AVMA recommendations.
🐾 Key Factors When Selecting a Digital Pet X‑Ray Machine
Choosing a digital pet X‑ray machine affects diagnosis speed, image clarity, and patient safety. Focus on image quality, workflow, durability, and long‑term support, not just price.
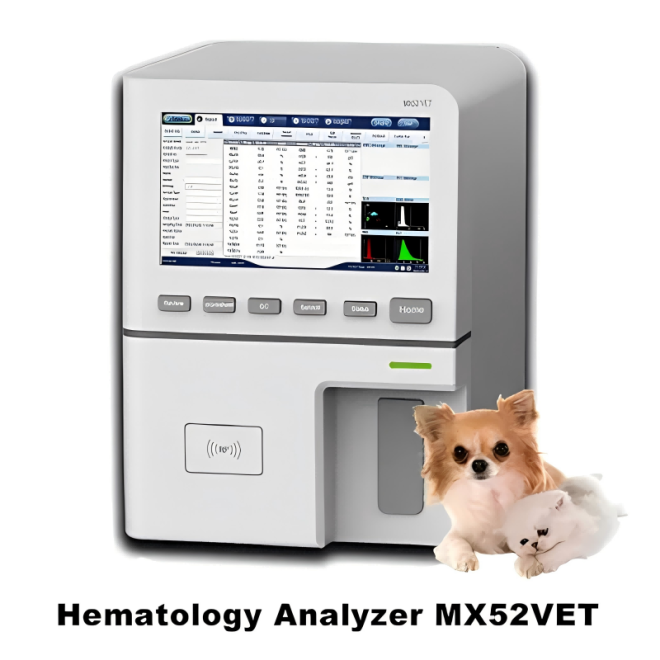
Compare systems using real case images, check software ease of use, and confirm local service. Link X‑ray choice with other devices like your Veterinary Hematology Analyzer MX60V for smooth diagnosis.
1. Clinical Needs and Patient Types
List your most common cases: fractures, chest films, dental studies, or exotic pets. Match detector size, weight limits, and exposure range with these daily demands.
- Small-animal vs. mixed practice
- Orthopedic vs. soft‑tissue focus
- Need for portable field imaging
2. Detector Type and Durability
Flat‑panel detectors give faster images and higher detail. Check impact resistance, water protection, and warranty terms for drops or bite damage.
- Resolution (pixels and pixel size)
- Battery life for wireless panels
- Weight and handling for staff
3. Software and Integration
Easy, clear software reduces retakes and stress. Confirm DICOM, PACS, and practice‑management links for fast sharing and reporting.
- One‑click body part presets
- Fast image load and export
- Cloud backup and remote view options
4. Budget, Service, and Total Cost
Look beyond the purchase price. Include service plans, detector insurance, training, and typical repair costs in your budget estimate.
| Cost Area | What to Check |
|---|---|
| Hardware | Detector, generator, table |
| Software | Licenses, upgrades |
| Support | On‑site service, response time |
📸 Image Quality Essentials for Accurate Veterinary Diagnosis
High image quality lets you see tiny fractures, subtle lung patterns, and early joint disease. Balance detail with dose and patient comfort.
Use objective measures, real case images, and test exposures to compare systems, not just brochure claims or demo screenshots.
1. Resolution, Contrast, and Noise
Fine bone lines and soft‑tissue borders need strong contrast and low noise. Ask for sample images of small dogs, cats, and critical cases.
- Detector pixel size and matrix
- Dynamic range to handle dense and soft areas
- Noise reduction without losing detail
2. Consistent Exposure Across Sizes
Good systems give stable quality from tiny kittens to large breed dogs. Look for clear presets and smart exposure guidance.
| Patient Type | Key Need |
|---|---|
| Cat / toy dog | Low dose, high detail |
| Medium dog | Balanced contrast |
| Large dog | High penetration, low noise |
3. Data‑Driven Image Comparison
Use simple metrics to compare systems: average grayscale levels, noise, and visible line pairs. Visual plus numeric checks lead to better purchase choices.
4. Post‑Processing and Workflow Speed
Look for tools like bone and soft‑tissue enhancement, zoom, and measurement. Fast processing cuts anesthesia time and supports safer imaging.
- Preset filters for thorax, abdomen, limbs
- Auto‑save and structured reports
- Easy export for referral and teaching
⚙️ Understanding Core Features and Settings Vets Really Need
Focus on features that improve diagnosis, speed, and safety. Avoid paying for complex options your clinic will rarely use.
1. Essential Exposure Controls
Clear kVp, mAs, and time settings are vital. Simple body‑part and size charts help staff set exposures quickly and reduce retakes.
- Preset charts by species and thickness
- Automatic exposure control, if available
- Repeat‑last‑exposure button
2. Safety and Dose Management
Use collimation, grids, and dose indicators to protect pets and staff. Reliable safety switches and warnings reduce accidental exposure.
| Safety Feature | Benefit |
|---|---|
| Lead collimator | Limits beam size |
| Warning lights | Clear exposure status |
| Dose display | Tracks exposure trends |
3. Connectivity with Other Diagnostic Tools
Check how the X‑ray links with hematology, rapid tests, and imaging archives. Strong links save time and lower data errors.
Plan how you will also store images alongside lab records and Animal rapid diagnosis product raw materials data to build complete patient files.
🏥 Matching Machine Size and Workflow to Your Clinic Space
Choose a system that fits your room, power, and staff flow. Good planning reduces stress and speeds every exam.
1. Room Layout and Table Design
Measure ceiling height, door width, and table area before buying. Ensure easy patient access from both sides of the table.
- Check minimum room size needs
- Confirm table weight limits
- Plan cable routing and outlets
2. Portable vs. Fixed Systems
Portable units suit field use or small rooms; fixed units support higher volume and heavier patients with more stable images.
| Type | Best For |
|---|---|
| Portable | House calls, farm visits |
| Floor‑mounted | Busy small‑animal clinics |
| Ceiling‑mounted | High‑volume hospitals |
3. Throughput and Future Growth
Estimate daily exam numbers and peak times. Choose a system that can handle growth without major upgrades in two to three years.
- Seconds per image display
- Queue handling in software
- Upgrade path for detectors or generators
⭐ Why LumosTail Is the Reliable Choice for Your Practice
LumosTail focuses on image clarity, simple workflows, and strong support, helping clinics improve diagnosis while keeping training time short.
1. Balanced Design for Busy Clinics
LumosTail systems combine high‑detail flat‑panel detectors with smart software presets. Staff learn quickly and gain steady, repeatable image quality.
- Clear, simple interface
- Fast image loading
- Custom exam protocols
2. Integrated Diagnostic Platform
LumosTail solutions connect X‑ray with lab devices and data systems. This supports full case review, from blood counts to imaging, in one place.
Match your X‑ray planning with detector and console details similar to those shown in the MSC100V Specifications to ensure technical fit.
3. Dependable Training and Support
LumosTail offers setup help, remote support, and clear guides. This keeps downtime low and helps your team stay confident with each exam.
| Support Type | Clinic Benefit |
|---|---|
| Remote | Fast software help |
| On‑site | Hands‑on repairs, training |
| Online guides | New staff onboarding |
Conclusion
Choosing a digital pet X‑ray machine means balancing image quality, workflow, safety, and cost. Start from real clinical needs, then compare systems using sample cases.
Plan for space, growth, and support, not only features. A well‑matched system protects pets, helps staff, and raises the standard of care in your clinic.
Frequently Asked Questions about digital x ray for pets
1. Is digital X‑ray safe for dogs and cats?
Yes. Modern digital systems use low doses and short exposure times. With good collimation and shielding, risks stay very small while benefits are high.
2. How long does a digital pet X‑ray exam take?
Positioning often takes longer than exposure. Most exams, from setup to final image, take about 5–10 minutes if the workflow is well planned.
3. Do I need special rooms for a digital X‑ray machine?
You need a room that meets local radiation rules, with proper shielding, warning signs, and power. Always follow national and regional regulations.
4. Can I upgrade from CR to a flat‑panel DR system?
In many clinics, yes. You can often keep your table and generator and replace the cassette system with a DR detector and new software.
5. How do I know if image quality is good enough?
Review sample images for fine bone lines, lung detail, and soft‑tissue contrast. Ask radiologists or experienced colleagues to check test images before you buy.