

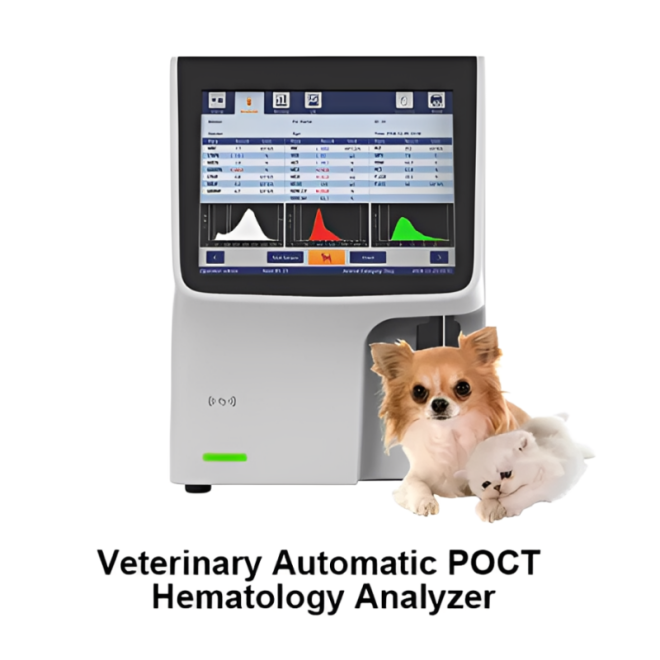
Picking animal diagnostic kits can feel like guessing your pet’s symptoms in a game of charades, while your cow, cat, or chicken stares like, “You sure about that, doc?”
Solve it by choosing kits with proven accuracy, clear instructions, and regulatory backing, guided by reports like the WOAH reference laboratory standards.
🐾 Understanding Key Performance Indicators: Sensitivity, Specificity, and Accuracy
Reliable animal diagnostic kits help vets make safe, quick treatment decisions. Focus on measurable performance indicators that show how often the kit gets results right.
Clear KPIs reduce repeat testing, protect patient safety, and support clinic reputation. Always check validation data and real-world performance before buying a new kit.
1. Sensitivity: Detecting True Positive Cases
Sensitivity shows how well a kit finds sick animals. High sensitivity means fewer missed infections, especially important for rapid tests used in busy clinics.
- Look for sensitivity ≥ 90% on common diseases.
- Ask for data from multiple animal species.
- Review independent or peer-reviewed studies.
2. Specificity: Avoiding False Alarms
Specificity shows how well a kit avoids false positives in healthy animals. Strong specificity prevents stress, extra costs, and unnecessary treatments.
- Check for cross‑reaction data with similar pathogens.
- Specificity ≥ 95% is ideal for screening programs.
- Confirm borderline results with advanced platforms like Fluorescent Immunochromatography.
3. Accuracy and Precision in Daily Use
Accuracy reflects how close results are to the true value. Precision shows if repeated tests match each other, even under routine clinic pressure.
| Metric | What to Check |
|---|---|
| Accuracy | Compared with gold‑standard lab methods |
| Precision | Low variation between repeated runs |
4. Regulatory Approval and Quality Certification
Choose veterinary kits backed by clear regulatory approval and quality systems. Certifications signal consistent production and batch-to-batch reliability.
- Look for ISO‑certified manufacturing sites.
- Check if data follow CLSI or similar guidelines.
- Review lot release and quality control details.
🔬 Evaluating Sample Types and Testing Methods for Different Animal Species
Different species and diseases need different samples and methods. Matching sample type and analyzer technology ensures faster workflows and fewer repeat tests.
Plan for blood, serum, urine, or swabs based on your case mix. Select analyzers and kits that support the species you see most often.
1. Matching Sample Type to Clinical Question
Use blood for systemic disease, swabs for local infections, and urine for kidney and metabolic checks. Follow each kit’s sample volume and timing rules.
| Sample | Best Use |
|---|---|
| Whole blood | Acid‑base, electrolytes, emergency cases |
| Serum/plasma | Biochemistry, organ function panels |
| Swabs | Respiratory and intestinal infections |
2. Choosing the Right Analyzer Platform
Handheld systems offer fast results, while bench analyzers give full panels. Select platforms that integrate into your space and staff skills.
- Use i-Check Blood Gas & Electrolyte Analyzer for critical care and stall‑side tests.
- Use larger platforms for high‑volume chemistry work.
- Confirm compatible cartridges and species settings.
3. Comparing Method Performance Across Species
Some immunoassays or chemistry methods perform better in certain animals. Always confirm validation data for dogs, cats, horses, or farm animals.
4. Workflow, Turnaround Time, and Cost
Evaluate how fast results are needed, staff time, and per‑test cost. Reliable, quick tests can reduce hospital stays and improve client satisfaction.
- Record average turnaround times per method.
- Include controls, consumables, and maintenance costs.
- Balance price with diagnostic value per case.
🧪 Ensuring Kit Stability: Storage Conditions, Shelf Life, and Handling Guidelines
Stable diagnostic kits give trustworthy results every time. Follow storage, temperature, and handling rules to protect reagents from damage.
Plan fridge space and inventory rotation so kits stay within their shelf life and remain ready for sudden case spikes.
1. Temperature and Light Protection
Store kits within the recommended temperature range and away from direct light. Sudden changes can quickly damage sensitive reagents.
- Use min‑max thermometers for fridges.
- Avoid door storage for critical reagents.
- Keep desiccant packs dry and sealed.
2. Monitoring Shelf Life and Lot Numbers
Track expiry dates and lot numbers in a simple log or software. This supports recalls and ensures first‑expiring kits are used first.
| Item | Action |
|---|---|
| New lot arrives | Record lot and expiry; place behind older stock |
| Near expiry | Prioritize for use or adjust orders |
3. Handling, Reconstitution, and Open‑Vial Stability
Follow instructions when opening, mixing, and re‑capping reagents. Note how long vials remain stable after opening or reconstitution.
- Use clean pipette tips to avoid contamination.
- Label opened vials with date and time.
- Discard reagents past in‑use stability limits.
📊 Interpreting Results Correctly and Avoiding Common Testing Errors
Correct interpretation matters as much as good hardware. Good habits reduce false positives, false negatives, and unnecessary repeat tests.
Train staff to follow clear steps from sample collection to reporting. Document common pitfalls and how to avoid them.
1. Pre‑Analytical Errors: Collection and Handling
Most errors start before analysis. Use proper tubes, correct fill volumes, and timely processing to protect sample quality.
- Avoid haemolysis by gentle blood draws.
- Label samples at the patient side.
- Observe fasting rules when needed.
2. Analytical Errors: Running the Test
Follow the kit insert closely. Incorrect timing, mixing, or instrument settings can shift results and mislead treatment decisions.
| Error | Prevention |
|---|---|
| Wrong incubation time | Use a timer for each run |
| Old calibration | Calibrate on the schedule given by the maker |
3. Post‑Analytical Errors: Reporting and Follow‑Up
Review results in clinical context and check for conflicts. When in doubt, repeat the test or confirm with a second method.
- Flag critical values and confirm immediately.
- Record interpretation and next steps in the file.
- Use trend data rather than single values alone.
🏅 When Comparing Options, Choose Trusted Solutions Like LumosTail Diagnostic Kits
When choosing animal diagnostic kits, compare performance, usability, and long‑term cost. Trusted brands help clinics deliver consistent and confident care.
Look for solutions that combine smart design, clear data, and easy training support for your whole veterinary team.
1. Integrated Platforms for Comprehensive Testing
Reliable systems offer chemistry, electrolytes, and disease markers in one workflow. This helps vets answer complex questions at the first visit.
- Pair handheld blood gas with lab chemistry panels.
- Use immunoassay cards for key infectious diseases.
- Choose platforms that support your main species mix.
2. Automation and Throughput for Busy Clinics
Automated analyzers limit hands‑on time, cut manual errors, and support high‑volume work on busy days or in referral centres.
- The Fully Automatic Biochemistry Analyzer PS800 fits routine chemistry panels.
- Automation improves repeatability across shifts.
- On‑board QC checks add extra safety.
3. Training, Support, and After‑Sales Service
Strong technical support is vital. Choose suppliers that offer training, clear manuals, and fast help when questions or issues arise.
| Support Type | Benefit |
|---|---|
| On‑site or remote training | Faster staff onboarding |
| 24/7 technical line | Minimal downtime during emergencies |
Conclusion
Choosing reliable animal diagnostic kits means looking beyond price. Focus on sensitivity, specificity, stability, and clear workflows that match your clinical needs.
With well‑validated tools and strong support, your team can act quickly, avoid common testing errors, and deliver safer care to every animal.
Frequently Asked Questions about animal diagnostic tech solutions
1. How often should I run quality control on my analyzers?
Run quality control at least daily, with every new lot of reagents, and after maintenance. Follow the manufacturer’s specific QC schedule for best performance.
2. Can human diagnostic kits be used for animals?
In most cases, no. Reference ranges, antibodies, and validation are different. Always choose kits designed, tested, and validated for veterinary use and species.
3. What is the biggest cause of unreliable test results?
Pre‑analytical errors, such as poor sample collection, wrong tubes, or delayed processing, cause many issues. Standardize these steps across the whole team.
4. When should I confirm a rapid test with another method?
Confirm unexpected positives or negatives, especially for serious or zoonotic diseases. Use more advanced lab methods or a second, independent platform.
5. How do I know if a new kit suits my clinic?
Request performance data, check species validation, review workflow demands, and, if possible, run a short in‑clinic trial before full adoption.