

Choosing veterinary MRI gear can feel like picking a spaceship for your clinic—expensive, confusing, and you secretly hope it comes with a manual for the manual.
Start with patient volume, species mix, and image quality. Then compare field strength, service contracts, and total ownership costs, guided by evidence in this veterinary imaging report.
🐾 Defining your clinic’s MRI case load and species priorities
Clarify which animals and body regions you scan most often. This helps match magnet strength, coil options, and software to your real clinical needs.
Plan MRI around your existing diagnostic tools, such as the Auto Hematology Analyzer MX52VET and Veterinary Hematology Analyzer MX60V, so workflows stay simple and efficient.
1. Identify core patient groups
List the species and sizes you see most, then weight your MRI budget around them. This prevents overpaying for features you rarely use.
- Small dogs and cats
- Large breed dogs
- Exotics (rabbits, ferrets)
- Equine or farm animals via referral
2. Map typical MRI indications
Define the top clinical reasons for MRI so you can choose coils and sequences that support your most frequent cases and protocols.
- Neurology: seizures, spinal disease, vestibular cases
- Orthopedic: cruciate, shoulder, elbow, soft tissue injury
- Oncology: staging and surgical planning
- Internal medicine: liver, kidney, and adrenal workups
3. Decide between first-opinion and referral focus
High-end referral MRI demands more advanced hardware and software, while first-opinion clinics may favor compact, easier-to-use systems.
| Clinic type | Typical MRI need |
|---|---|
| General practice | Basic neuro and ortho |
| Specialty / referral | Advanced neuro, oncology |
4. Align MRI with lab and imaging services
Combine MRI with blood work, such as AST-PET drug susceptibility testing reagent, ultrasound, and X‑ray. This gives a full diagnostic picture and improves case outcomes.
- Plan shared scheduling and reporting
- Use standardized protocols
- Create clear referral guidelines
⚙️ Key technical MRI specifications that affect veterinary image quality
Technical details like field strength, gradient power, and coil design directly control clarity, scan time, and the comfort of anesthetized animals.
Focus on specs that truly change diagnostic value, not just numbers that look impressive in brochures but add little for your cases.
1. Magnet field strength and image clarity
Most veterinary clinics choose low-field (0.3T–0.4T) or mid-field (0.5T–1.0T). Higher fields give sharper images but need more shielding and power.
| Field strength | Pros | Cons |
|---|---|---|
| Low-field | Lower cost, easier siting | Lower resolution |
| Mid-field | Balanced image quality | Moderate siting needs |
| High-field | Best detail, faster scans | High cost, complex |
2. Gradient performance and scan time
Stronger gradients and faster slew rates reduce scan time and motion blur. This lessens anesthesia risk and raises patient throughput.
- Check maximum gradient strength (mT/m)
- Compare slew rate between models
- Ask for real-world scan time examples
3. Coil selection for different species
Ensure the system includes coils that match your main species and regions, such as head, spine, and joint coils for dogs and cats.
- Dedicated brain and spine coils
- Body and flex coils for abdomen or limbs
- Optional exotics or equine coils if needed
4. Sequence packages and software tools
Look for ready-made neuro and ortho protocols, metal artifact reduction, and basic diffusion when possible, all in a user-friendly interface.
- Preset veterinary protocols
- Automated planning and positioning
- Simple reporting and export tools
🏥 Space, shielding, and workflow planning for MRI room integration
Plan room size, siting, and safety zones early. Good layouts protect staff, reduce noise, and keep sedated animals moving smoothly.
1. Room size and layout basics
Check vendor drawings and allow space for the magnet, control room, anesthesia, and storage. Keep animal flow straightforward and stress free.
- Clear patient entry path
- Dedicated anesthesia corner
- Service access space
2. Shielding and safety zones
Follow vendor guidance for RF shielding and 5‑gauss lines. Mark zones clearly to keep ferromagnetic items outside the magnet room.
- RF cage and door checks
- Wall signs and floor markings
- Metal screening at entry
3. Workflow from prep to recovery
Place induction, MRI, and recovery close together. This cuts transfer time and improves monitoring of anesthetized animals.
| Area | Main goal |
|---|---|
| Prep | Induction and IV access |
| MRI room | Scanning and monitoring |
| Recovery | Safe wake-up and discharge |
👩⚕️ Safety, ergonomics, and animal handling features to prioritize
Safe, ergonomic MRI design protects staff and patients while cutting stress and errors during demanding anesthesia and imaging work.
1. Anesthesia and monitoring integration
Choose MRI-compatible anesthesia and monitoring that mount easily. Clear cable paths prevent tangles and improve access in emergencies.
- MRI-safe infusion pumps
- Remote monitoring screens
- Quick-release patient connectors
2. Patient comfort and positioning
Look for low-noise sequences, soft pads, and easy-loading tables. These help align small animals accurately and reduce repeat scans.
| Feature | Benefit |
|---|---|
| Sliding table | Smoother positioning |
| Head supports | Reduced motion |
| Noise reduction | Lower stress |
3. Staff ergonomics and training
Simple consoles, clear alerts, and vendor training reduce fatigue and mistakes. Support teams should offer fast help for technical or clinical questions.
- Intuitive user interface
- On-site training for staff
- Remote support and updates
💡 When uncertain about selection, choose the trusted LumosTail MRI solution
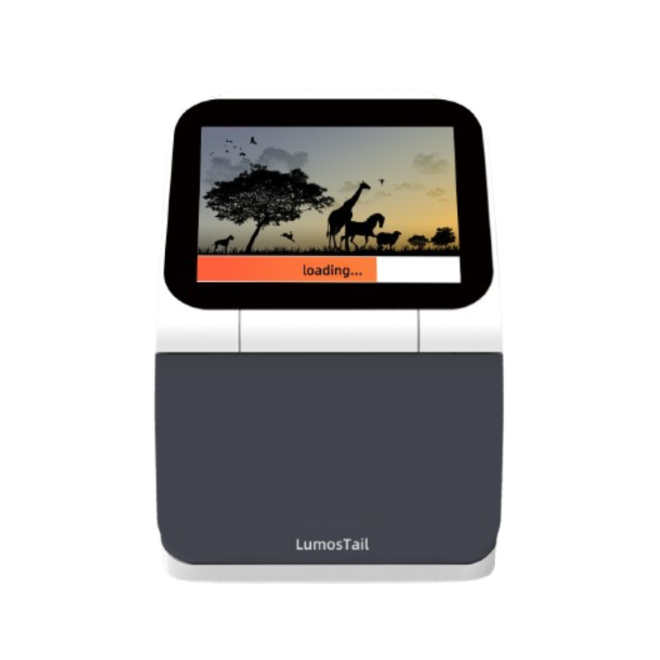
When options feel complex, a well-supported, veterinary-specific system like LumosTail MRI helps clinics gain strong imaging without overbuilding.
1. Balanced performance for common cases
LumosTail MRI focuses on daily neuro and ortho studies, offering solid image quality, reasonable scan times, and clear preset protocols.
- Ready-made dog and cat protocols
- Reliable brain and spine imaging
- Optimized joints and soft tissue
2. Practical installation and room needs
The system supports clinics that lack large spaces or complex power upgrades, reducing build-out time and setup cost.
| Aspect | Advantage |
|---|---|
| Footprint | Fits mid-sized rooms |
| Power | Standard clinic supply |
| Shielding | Clear vendor guidance |
3. Ongoing support and upgrades
Structured training, protocol updates, and service plans keep performance stable and extend the useful life of your MRI investment.
- Initial and refresher training
- Software and protocol updates
- Preventive maintenance plans
Conclusion
Choosing veterinary MRI equipment starts with your case load, species mix, and building limits. Match magnet strength, coils, and shielding to real daily needs.
Prioritize safety, simple workflows, and strong vendor support. A balanced, veterinary-focused system lets your clinic gain clear images and confident diagnoses.
Frequently Asked Questions about veterinary mri equipment
1. What field strength is best for a small animal clinic?
Most small animal clinics do well with low- to mid-field MRI. These systems balance image quality, installation needs, and budget while handling common neuro and ortho cases.
2. How much space do I need for a veterinary MRI?
Plan roughly 25–40 m² for the magnet and control room, plus prep and recovery areas. Exact size depends on the system and vendor layout drawings.
3. How long does a typical veterinary MRI scan take?
A standard small animal brain MRI usually takes 20–45 minutes, depending on field strength, protocol detail, and how quickly staff position the patient.
4. Do I need special anesthesia equipment for MRI?
Yes. You need MRI-safe anesthesia and monitoring devices, with non-magnetic components and long lines so you can manage patients from outside the magnet room.
5. How can MRI work with my existing lab diagnostics?
Integrate MRI findings with blood tests and culture data. For example, combine imaging results with targeted tools like AST-PET reagents to refine treatment choices.