

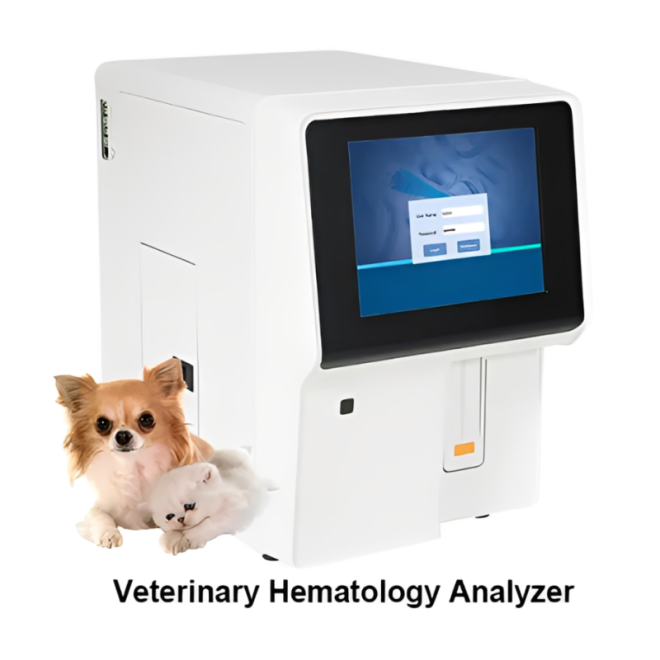
Is your veterinary electrolyte analyzer acting like a grumpy cat—flashing errors, demanding calibration, and picking the worst moments to break down? You’re not alone, and no, it’s not secretly plotting against your clinic schedule.
The fix is simple: follow routine cleaning, regular calibration, and strict quality control so your analyzer stays accurate and reliable. For evidence-based maintenance guidance, see the Clinical and Laboratory Standards Institute recommendations here: CLSI Veterinary Standards.
🔧 Daily Cleaning Routines to Keep Electrolyte Analyzers Running Smoothly
Daily cleaning keeps veterinary electrolyte analyzers stable, reduces downtime, and protects patient safety. Simple, repeatable steps give fast, reliable sodium, potassium, and chloride values.
Follow your manufacturer’s manual, use approved solutions, and record each cleaning task. Good habits make your analyzer last longer and support consistent clinical decisions.
1. Wipe External Surfaces and Touchscreen
Clean the housing and screen with a soft lint‑free cloth and mild disinfectant.
- Avoid strong solvents like acetone or bleach sprays.
- Do not let liquid run into vents or ports.
- Dry fully before next use.
2. Flush Sample Path and Waste Line
Use system rinse or distilled water to flush the internal fluid path every day.
- Run the built‑in cleaning program if available.
- Check waste bottle level and empty safely.
- Inspect tubing for kinks or leaks.
3. Care for Reagents and Consumables
Correct reagent handling protects analyzer performance and lowers cost.
| Item | Best Practice |
|---|---|
| Reagent packs | Store at recommended temperature and note open date. |
| Electrolyte standards | Mix gently, do not shake hard. |
| Printer paper / labels | Keep dry and dust‑free. |
4. Integrate with Other Lab Devices
Match cleaning schedules with other analyzers to streamline workflow.
- Align maintenance with the Veterinary Automatic POCT Hematology Analyzer PB30V.
- Use one logbook for electrolyte and hematology systems.
- Train staff on shared SOPs.
🧪 Preventing Sample Contamination for Accurate Veterinary Electrolyte Results
Clean, well‑labeled samples reduce errors, repeat tests, and stress for animals. Good pre‑analytical practice is as important as analyzer technology.
Control each step, from collection to analysis, and you will see fewer outliers and tighter electrolyte ranges.
1. Use Correct Collection Tubes and Anticoagulants
Choose tubes that match your analyzer’s requirements.
- Avoid tubes with gel that may affect some electrolyte methods.
- Fill tubes to the marked line to prevent dilution errors.
- Gently invert; do not shake hard.
2. Prevent Hemolysis and Clotting
Hemolysis can falsely raise potassium; clots block the sample path.
- Use proper needle size for each species.
- Avoid long tourniquet times in small animals.
- Inspect plasma or serum for visible red tint.
3. Store and Transport Samples Correctly
Incorrect storage changes electrolyte values.
| Factor | Recommendation |
|---|---|
| Time to test | Analyze within 30–60 minutes when possible. |
| Temperature | Use chilled transport for longer delays, avoid freezing whole blood. |
| Light | Keep samples away from direct sunlight. |
4. Monitor Contamination Trends with Simple Data Review
Visual checks help you spot rising hemolysis or repeat‑test rates and adjust workflows.
📊 Calibration and Quality Control Checks Veterinary Staff Should Never Skip
Regular calibration and QC keep electrolyte reports dependable and traceable for every patient and every visit.
Document results, review trends, and act quickly when controls drift out of range.
1. Follow a Fixed Calibration Schedule
Use manufacturer‑supplied standards and follow the recommended interval.
- Run full calibration after major repairs or reagent lot changes.
- Record calibration ID, date, and operator.
- Recheck with fresh QC after calibration.
2. Use Multi‑Level Quality Control Materials
Run at least two QC levels (low and high) daily.
| QC Level | Purpose |
|---|---|
| Low | Checks hyponatremia and hypokalemia ranges. |
| High | Confirms hypernatremia and hyperkalemia alerts. |
3. Compare with Other Analyzers in Your Lab
Cross‑check results with systems such as the Veterinary Hematology Analyzer MX30V workflow.
- Review differences during internal audits.
- Align reference intervals across devices where possible.
- Update SOPs after method changes.
🛡️ Protecting Analyzer Sensors and Probes from Damage and Corrosion
Sensors and ion‑selective electrodes are the heart of a veterinary electrolyte analyzer and need gentle, steady care.
Proper protection lowers replacement costs and reduces sudden failures during busy clinic hours.
1. Use Only Approved Cleaning Solutions
Avoid harsh chemicals that corrode delicate surfaces.
- Follow the official list of safe cleaners.
- Never scrape electrodes with metal tools.
- Rinse with distilled water after cleaning.
2. Protect Probes from Drying Out
Many electrodes must stay moist to stay stable.
| Component | Storage Tip |
|---|---|
| Ion‑selective electrode | Store in recommended soak solution, not plain water. |
| Sampling probe | Park in home position after each run. |
3. Handle Probes Carefully During Maintenance
Train staff to move probes slowly and avoid bending.
- Use probe guards if supplied.
- Do not twist cables under strain.
- Report cracks, rust, or salt build‑up at once.
🏥 When Replacement Parts Are Needed, Choose Reliable LumosTail Components
High‑quality spare parts protect accuracy and reduce unplanned downtime in busy veterinary practices.
Choose components that match your analyzer model and come with clear documentation and support.
1. Source Electrodes, Tubing, and Valves from Trusted Brands
Using low‑grade parts can shorten analyzer life.
- Check compatibility lists before buying.
- Keep a small stock of critical parts on site.
- Track part changes in your maintenance log.
2. Work with Technical Support for Complex Repairs
Some tasks need certified service engineers.
| Task | Recommended Person |
|---|---|
| Board replacement | Authorized technician |
| Routine tubing change | Trained in‑house staff |
3. Align Parts Strategy with Your Hematology Systems
Integrate spare‑parts planning across analyzers, including the Veterinary Hematology Analyzer MX60V.
- Use one vendor where possible for faster support.
- Unify training for all lab platforms.
- Review usage annually to update stock levels.
Conclusion
Consistent daily cleaning, strong sample handling, and strict calibration routines keep veterinary electrolyte analyzers accurate, stable, and ready for every patient.
By protecting sensors, choosing reliable parts, and aligning workflows with your hematology systems, your clinic can deliver faster, safer decisions and better animal care.
Frequently Asked Questions about veterinary electrolyte analyzer
1. How often should I clean a veterinary electrolyte analyzer?
Clean external surfaces daily and run internal rinse programs as your manual states. Perform deeper cleaning weekly or monthly, depending on sample volume and manufacturer advice.
2. How many quality control levels do I need?
Use at least two QC levels, low and high, once per day. High‑volume labs may add a mid‑range level and repeat QC after reagent or part changes.
3. What samples can veterinary electrolyte analyzers test?
Most analyzers work with heparinized whole blood, plasma, or serum. Always confirm approved sample types, fill volume, and handling rules in the device manual.
4. When should I replace electrodes or probes?
Replace them when calibration fails often, QC drifts, or visible damage appears. Many clinics plan electrode replacement every 12–24 months, based on workload and results.